

Salmon Sushi Bake offers a creamy, spicy twist on classic sushi flavors. This family-friendly dish is easy to make and perfect for a weeknight meal or gathering.
Okay, so picture this: a potluck, pre-pandemic, and someone brings this incredible, warm, deconstructed sushi dish. My mind was blown! I mean, sushi in bake form? Genius! I knew right then and there I had to recreate it. After a few tries (and a minor kitchen explosion, oops), I perfected my very own Salmon Sushi Bake. It’s seriously a game-changer for weeknights or entertaining!
One time, I was so excited to get this Salmon Sushi Bake in the oven that I forgot to add the cream cheese to the salmon mixture! I pulled it out, took a bite, and was like, 'Hmm, it's missing something creamy.' Ended up spooning dollops of cream cheese on top halfway through baking, and honestly, it still worked. A happy accident, but a lesson learned!
Ingredients for the Ultimate Salmon Sushi Bake
- 2 cups uncooked short-grain sushi rice: This isn't just any rice, friend. Sushi rice is short-grain for a reason it gets wonderfully sticky and holds its shape, creating that perfect base for our Salmon Sushi Bake. Rinsing it until the water runs clear? Non-negotiable! Trust me, that extra step makes all the difference for a fluffy, not mushy, foundation. It's the unsung hero of the whole dish, honestly.
- 1 1/2 lbs salmon fillet, skinless and boneless: Ah, the star of the show! Fresh salmon is key here. I always opt for skinless and boneless to save myself some prep time, but if you get it with skin, just peel it off after baking. This amount gives you plenty of flaky, tender fish in every bite of your Salmon Sushi Bake. It bakes up so beautifully, absorbing all those delicious flavors we're about to add.
- 1/2 cup Japanese mayonnaise (Kewpie preferred): Kewpie mayo is NOT just regular mayo, okay? It’s richer, tangier, and has this amazing umami depth thanks to the egg yolks and rice vinegar. It's what gives our Salmon Sushi Bake that signature creamy, slightly sweet, and tangy kick. If you can find it, grab it! If not, a good quality regular mayo will work, but you'll miss a little bit of that authentic magic.
- 1/4 cup cream cheese, softened: This is my secret weapon for that extra layer of richness and a silky texture in the salmon filling. Softened cream cheese blends in so smoothly, creating a luscious, melt-in-your-mouth experience. It really helps bind the salmon mixture and adds a delightful tang that balances the spice. Don't skip this, it's a game-changer for the creamy Salmon Sushi Bake.
- 2 tbsp Sriracha: Hello, heat! Sriracha brings that fantastic spicy kick we all crave in a sushi bake. Two tablespoons give you a nice medium heat, but honestly, feel free to adjust. If you like it fiery, add more! If you're serving little ones, start with less and offer extra on the side. It's the perfect counterpoint to the creamy mayo and rich salmon.
- 1/4 cup rice vinegar, 2 tbsp granulated sugar, 1 tsp salt: This trio is what transforms plain cooked rice into proper sushi rice. The vinegar adds that signature tang, the sugar balances it with a hint of sweetness, and the salt just brings everything together. It's a simple seasoning, but it's crucial for getting that authentic sushi flavor profile in the base of our Salmon Sushi Bake. Don't skip this step!
Making Your Own Salmon Sushi Bake: Step-by-Step
- Step 1: Cook Sushi Rice:
- First things first, get that rice going! Rinse your sushi rice under cold water until it runs clear seriously, don't skimp on this. It washes away excess starch, ensuring perfectly fluffy, separate grains, not a sticky mess. Then, cook it up. I usually use my rice cooker, but stovetop works great too. Just aim for tender, slightly sticky rice. This is the foundation of our amazing Salmon Sushi Bake, so treat it with love!
- Step 2: Season Rice Base:
- While your rice is still warm, gently fold in the rice vinegar, sugar, and salt. You want to do this while it's warm so the flavors absorb beautifully. The goal isn't to mash it, but to lightly coat each grain. This seasoned rice is going to be the cozy bed for our salmon. Press it evenly into your baking dish not too thin, not too thick. This firm base is crucial for a great Salmon Sushi Bake.
- Step 3: Prepare Salmon Filling:
- Now for the star! Bake your salmon until it's cooked through and flakes easily. Once it's cool enough to handle, flake it into a bowl. Add your Japanese mayo, softened cream cheese, and Sriracha. Mix it all up until it's creamy and dreamy. Taste it! Need more spice? Add more Sriracha. This creamy, spicy mixture is what makes the Salmon Sushi Bake so utterly irresistible.
- Step 4: Assemble Sushi Bake:
- Okay, time to build! Spread that glorious salmon mixture evenly over your seasoned rice base in the baking dish. Make sure it goes right to the edges. You want a generous layer of that creamy, spicy goodness in every bite. This is where the Salmon Sushi Bake really starts to come together, looking like a masterpiece even before it hits the oven. It's already smelling amazing, right?
- Step 5: Bake Until Golden:
- Into the oven it goes! Bake your Salmon Sushi Bake until the top is beautifully golden brown and bubbly. That's when you know all those flavors have melded together, and the edges of the rice might even get a little crispy my favorite part! The house will smell absolutely incredible, trust me. Keep an eye on it to prevent burning, but don't be afraid of a little color.
- Step 6: Garnish and Serve:
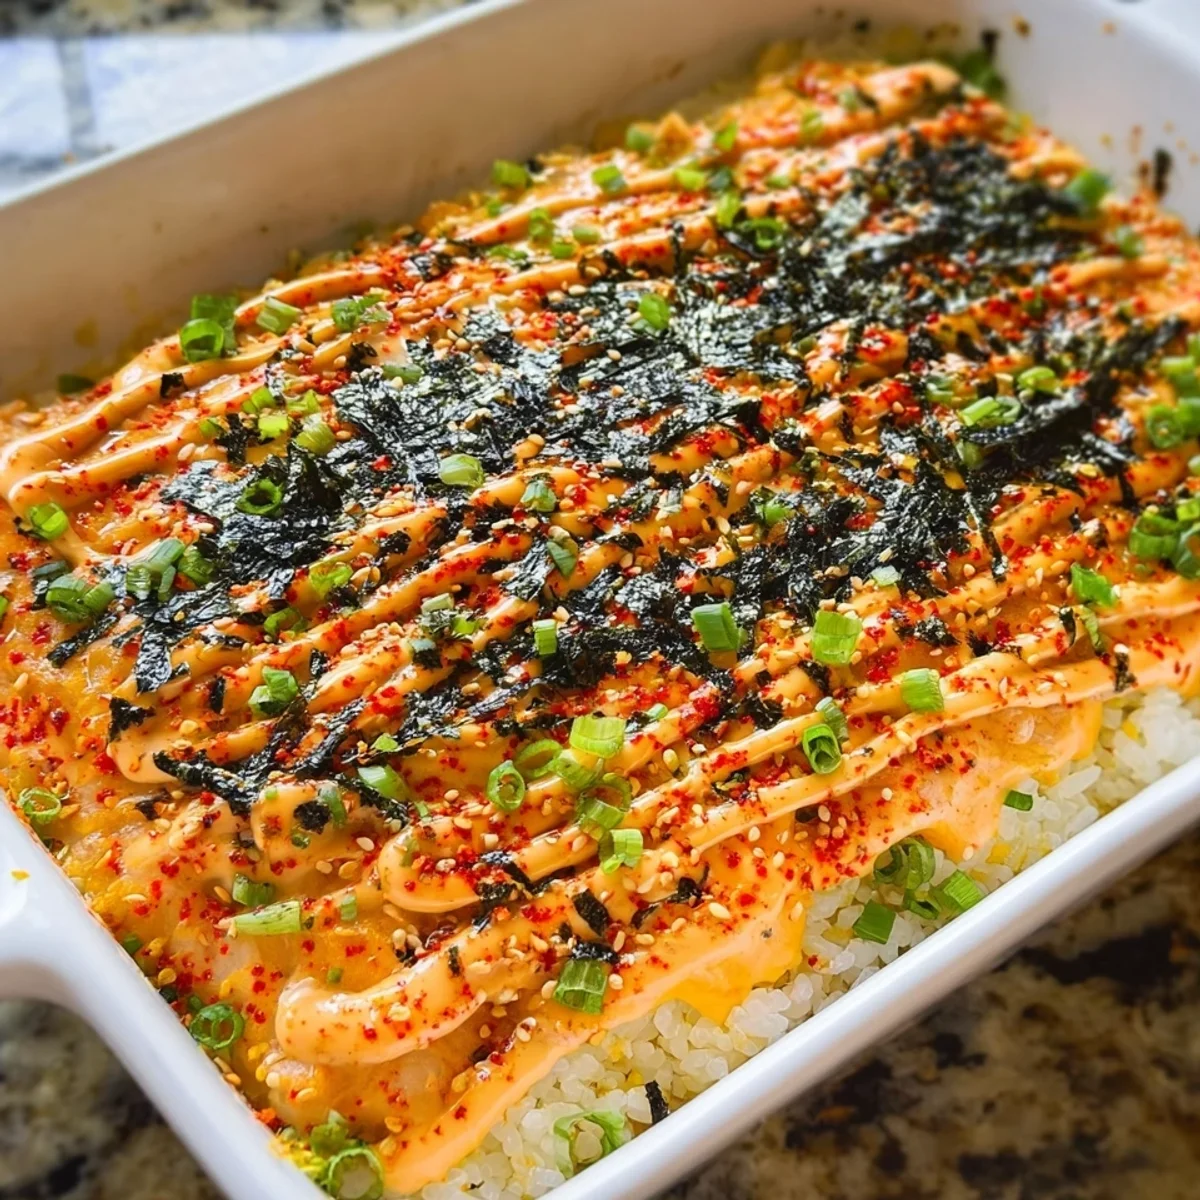
- Once it's out of the oven, let your Salmon Sushi Bake cool for just a few minutes. Then, sprinkle generously with thinly sliced green onions. They add a pop of fresh flavor and color. If you're feeling extra, a drizzle of more Sriracha or a sprinkle of sesame seeds wouldn't hurt! Cut into squares and serve warm. Get ready for some happy faces, this dish is a winner!
Honestly, making this Salmon Sushi Bake is such a joy. From the moment the rice cooker starts bubbling to the smell of the salmon baking, it just fills my kitchen with happiness. It feels fancy, but it's deceptively simple, and the payoff of those creamy, spicy, savory flavors is just incredible. Every time I make it, I get so excited for that first bite!
Keeping Your Salmon Sushi Bake Fresh: Storage Hacks
Got leftovers? Lucky you! This Salmon Sushi Bake stores beautifully. Just cover your baking dish tightly with plastic wrap or transfer individual portions to airtight containers. It'll keep in the fridge for up to 3 days. When reheating, I like to pop it in the microwave for a minute or two until warmed through, or even in a toaster oven for a slightly crispy top. I once tried freezing a batch, and honestly, the texture of the rice got a bit weird after thawing, so I don't recommend that. Fresh is best for this one, or just refrigerated!

Swapping Ingredients in Your Salmon Sushi Bake
Okay, so I've played around with this Salmon Sushi Bake recipe a lot. If salmon isn't your jam, cooked imitation crab meat (kimbap style!) is a fantastic alternative just shred it and mix it in. For the spice, gochujang can replace Sriracha for a different kind of kick. Not a fan of cream cheese? You could omit it, but you'll lose some of that luscious creaminess, so maybe add an extra tablespoon of mayo. I've even swapped the green onions for chives when I was in a pinch. Feel free to experiment, that's the fun of home cooking!
Serving Up Your Delicious Salmon Sushi Bake
The best way to serve this Salmon Sushi Bake? With crispy sheets of roasted seaweed (nori)! Seriously, scoop a spoonful onto a piece of nori, add a slice of avocado, maybe some cucumber, and it's like a mini, perfect bite of sushi heaven. A side of miso soup or a simple cucumber salad with a sesame dressing would round out the meal beautifully. Don't forget a little extra Sriracha and some soy sauce on the side for dipping, if you're feeling extra saucy. It's a feast for the eyes and the belly!
The Story Behind the Salmon Sushi Bake Craze
So, the Salmon Sushi Bake isn't a traditional Japanese dish in the same way nigiri or maki rolls are. It really gained popularity in the US, especially on the West Coast, and then exploded on social media during the pandemic! It's kind of a brilliant fusion, taking all the beloved flavors and components of a spicy salmon roll and deconstructing them into a comforting, easy-to-eat casserole. It's a testament to how food evolves and adapts, bringing those delicious Japanese-inspired flavors into a family-friendly, baked form. I love how it makes sushi accessible to everyone!
There you have it, friends! My go-to recipe for Salmon Sushi Bake. It's truly one of those dishes that always brings a smile to everyone's face, including mine. I hope you give it a try and make it your own. Please, please, please share your creations with me tag me on social media, I'd love to see how your bake turns out!

Common Questions About Salmon Sushi Bake
- → Can I use frozen salmon for this Salmon Sushi Bake?
Absolutely! Just make sure to thaw it completely in the fridge overnight before baking. Pat it dry with paper towels to remove any excess moisture, then proceed with the recipe as written. It works just as beautifully as fresh salmon, honestly.
- → Is this Salmon Sushi Bake very spicy?
The recipe calls for 2 tablespoons of Sriracha, which gives it a nice medium kick. If you're sensitive to spice, start with 1 tablespoon and taste before adding more. For heat lovers, feel free to add an extra tablespoon or two! It's totally customizable, which I love.
- → What if I can't find Japanese mayonnaise (Kewpie)?
No worries! While Kewpie gives the best flavor, you can use a good quality regular mayonnaise. You might want to add a tiny squeeze of lime juice or a pinch of sugar to your regular mayo to mimic some of Kewpie's unique tang and sweetness, but it'll still be delicious.
- → Can I prepare this Salmon Sushi Bake ahead of time?
You can prep the rice and the salmon mixture separately a day in advance and store them in the fridge. Then, just assemble and bake when you're ready to serve. I wouldn't recommend assembling the entire bake much earlier than a few hours before baking to keep the rice fresh.
- → What are some other toppings for Salmon Sushi Bake?
Oh, the possibilities! Besides green onions, I love adding toasted sesame seeds, a drizzle of eel sauce (unagi sauce), thinly sliced avocado, or even some furikake (Japanese rice seasoning). A sprinkle of chili flakes for extra heat is also a great idea. Get creative!
Salmon Sushi Bake: Creamy, Spicy & Family-Friendly
Salmon Sushi Bake offers a creamy, spicy twist on classic sushi flavors. This family-friendly dish is easy to make and perfect for a weeknight meal or gathering.
Ingredients
The Sushi Rice Foundation
- 2 cups uncooked short-grain sushi rice
- 2 1/2 cups water
- 1/4 cup rice vinegar
- 2 tbsp granulated sugar
- 1 tsp salt
Creamy Salmon Dream
- 1 1/2 lbs salmon fillet, skinless and boneless
- 1/2 cup Japanese mayonnaise (Kewpie preferred)
- 1/4 cup cream cheese, softened
- 2 tbsp Sriracha
- 2 tbsp green onions, thinly sliced
Spicy Drizzle & Fresh Accents
- 4 sheets nori, cut into strips or small squares
- 1 large avocado, diced
- 2 tbsp toasted sesame seeds
- 1 tbsp furikake seasoning
- 1 tbsp Sriracha, for drizzle
- 1 tsp sesame oil, for drizzle
- Extra green onions, thinly sliced, for garnish
Instructions
-
1Cook Sushi RiceRinse 2 cups uncooked short-grain sushi rice until water runs clear. Combine with 2 1/2 cups water in a medium pot. Bring to a boil, then reduce heat to low, cover, and simmer for 15 minutes. Remove from heat and let stand, covered, for 10 minutes.
-
2Season Rice BaseWhile rice cooks, whisk together 1/4 cup rice vinegar, 2 tbsp granulated sugar, and 1 tsp salt in a small bowl until dissolved. Transfer the cooked rice to a large bowl and gently fold in the vinegar mixture. This forms the delicious base for your Salmon Sushi Bake: Creamy, Spicy & Family-Friendly.
-
3Prepare Salmon FillingPreheat oven to 375°F. In a separate bowl, flake 1 1/2 lbs salmon fillet. Add 1/2 cup Japanese mayonnaise, 1/4 cup softened cream cheese, 2 tbsp Sriracha, and 2 tbsp thinly sliced green onions. Mix well until the salmon is fully coated and the mixture is creamy and combined.
-
4Assemble Sushi BakePress the seasoned sushi rice evenly into a 9x13 inch baking dish, creating a firm base. Carefully spread the creamy salmon mixture over the rice layer, ensuring an even distribution across the entire dish. This creates the perfect layers for your Salmon Sushi Bake: Creamy, Spicy & Family-Friendly.
-
5Bake Until GoldenBake the Salmon Sushi Bake: Creamy, Spicy & Family-Friendly in the preheated oven for 20 minutes, or until the top is lightly golden brown and bubbly. The salmon should be heated through and slightly caramelized on top, indicating it's ready.
-
6Garnish and ServeRemove from oven. Drizzle with 1 tbsp Sriracha and 1 tsp sesame oil. Sprinkle generously with 2 tbsp toasted sesame seeds, 1 tbsp furikake seasoning, and extra thinly sliced green onions. Serve immediately with 4 sheets nori (cut into strips or squares) and 1 large diced avocado.
Notes
For extra flavor, lightly toast the nori sheets over an open flame or in a dry pan for a few seconds before serving. This enhances their crispness and aroma.
Leftovers of this Salmon Sushi Bake can be stored in an airtight container in the refrigerator for up to 2 days. Reheat gently in the microwave or oven.
If you don't have fresh salmon, canned salmon (drained well) or even cooked shredded chicken can be used as a substitute for the protein layer. Adjust seasoning as needed.
Serve with additional Sriracha on the side for those who prefer extra heat, and a squeeze of fresh lime juice can brighten all the flavors.
Equipment
Please check ingredients for potential allergens and consult a health professional if in doubt.
Nutrition Facts
It is important to consider this information as approximate and not to use it as definitive health advice.
Comments
Leave a Comment